How Drone Radar Reveals Martian Water: A Step-by-Step Guide to Mapping Subsurface Ice
Introduction
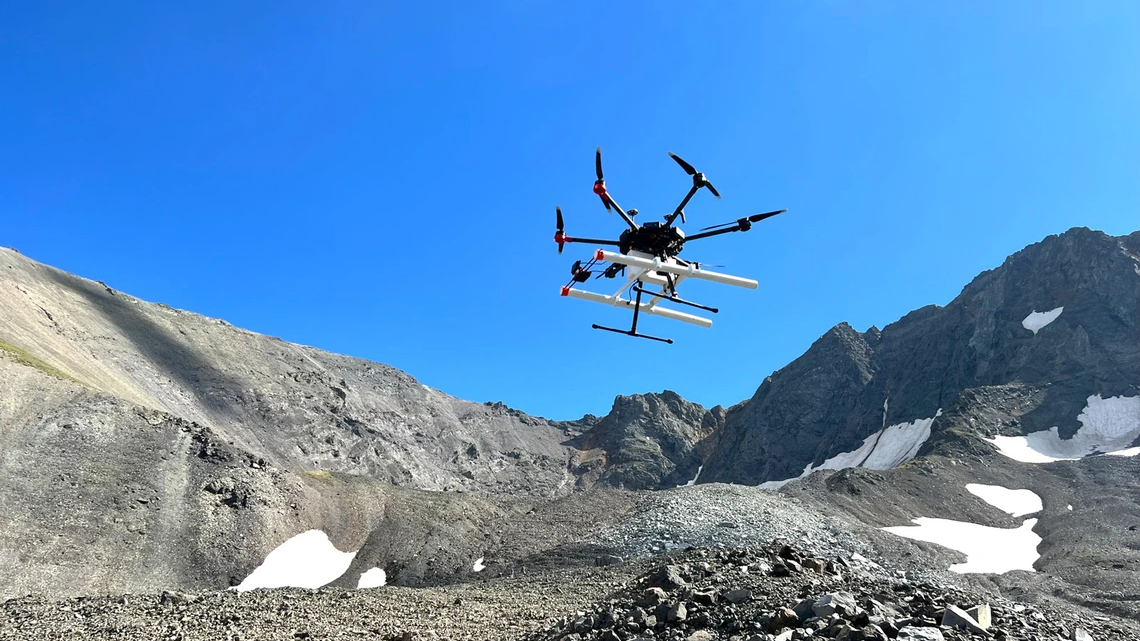
Finding water on Mars is a top priority for future human exploration and astrobiology. One promising technique is using drone-mounted ground-penetrating radar (GPR) to map buried ice deposits. Tests on Earth—flying radar-equipped drones over glaciers—prove this method can produce detailed subsurface maps. These maps will help Mars spacecraft select optimal drilling sites. This guide explains the process step by step, from equipment selection to data interpretation, so you can understand how scientists plan to pinpoint water on the Red Planet.

What You Need
- Drone platform – a stable, long-endurance UAV capable of carrying radar payload (e.g., quadcopter or fixed-wing).
- Ground-penetrating radar (GPR) system – lightweight, low-frequency radar (e.g., 50–200 MHz) for deep penetration.
- Global Positioning System (GPS) for precise flight path and geolocation of radar data.
- Inertial Measurement Unit (IMU) to record drone attitude (pitch, roll, yaw) for motion correction.
- Onboard data logger or telemetry link to record radar returns.
- Ground control station with real-time flight monitoring and radar data preview.
- Data processing software (e.g., MATLAB, Python libraries, or commercial GPR processing tools) for filtering, migration, and visualization.
- Access to a glacier or ice-rich terrain (analog for Martian polar regions or mid-latitude glaciers).
- Permits and safety gear if flying in remote or protected areas.
Step-by-Step Guide
Step 1: Select a Suitable Drone and Radar System
Choose a drone with enough payload capacity (typically 1–5 kg) and flight endurance (30 minutes or more) to cover a survey area. The GPR must operate at frequencies that balance penetration depth and resolution. For ice mapping, low frequencies (50–100 MHz) penetrate tens of meters but resolve features down to a few meters; higher frequencies (200–400 MHz) give finer detail but shallower depth. Ensure the radar antenna is mounted securely and is compatible with the drone’s power and control systems.
Step 2: Plan the Flight Path
Define a grid or parallel lines over the target zone, with spacing based on desired coverage and radar footprint. Overlap lines by 20–50% to ensure full coverage. Use GPS waypoints to automate the mission. Consider terrain elevation and obstacles (e.g., crevasses on glaciers). The flight altitude should be constant (e.g., 20–50 m above ground) to maintain consistent radar coupling and minimize noise.
Step 3: Pre-Flight Calibration and Checks
Test the radar on the ground to verify it produces clean reflections from a known target (e.g., a buried metal plate or ice layer). Calibrate the GPS and IMU. Ensure the drone battery is fully charged and that the radar data logger has sufficient storage. Perform a pre-flight checklist for drone systems (propellers, motors, control links).
Step 4: Execute the Survey Flight
Launch the drone and fly the planned route in autonomous mode. Monitor the live radar feed on the ground station to confirm data quality. Adjust flight speed (typically 5–10 m/s) to avoid data smearing. The radar continuously emits pulses and records the time it takes for echoes to return from subsurface layers. Over a glacier, reflections from ice/rock boundaries or internal layers indicate buried ice thickness and structure.
Step 5: Download and Inspect Raw Data
After landing, transfer radar data to a computer. Each radar trace contains a time series of amplitudes. Raw data may need corrections: remove DC offset, apply time-zero adjustment, and filter out low-frequency noise. Plot the data as a radargram (distance vs. two-way travel time) to see reflections. Strong, continuous reflections at consistent depths suggest ice or water interfaces.
Step 6: Process Radargrams for Clarity
Apply standard GPR processing steps:
- Dewow filtering – removes low-frequency instrument drift.
- Gain control (e.g., automatic gain control) to amplify deeper signals.
- Bandpass filtering – suppress noise outside radar’s frequency range.
- Migration – focuses hyperbolic reflections from point targets (e.g., boulders or cavities) into correct positions.
- Time-to-depth conversion – using an estimated wave velocity in ice (typically 0.168 m/ns) to convert travel time to depth.
Step 7: Interpret the Subsurface Structure
Identify continuous reflections that correspond to ice surfaces, internal layers, or the base of ice (interface with rock or liquid water). On Earth glaciers, these reflections reveal buried ice thickness, stratigraphy, and potential liquid water pockets. On Mars, similar reflections would indicate water ice deposits. Compare with known geology and any ground-truth data (e.g., ice core measurements from nearby sites).
Step 8: Generate a 3D Map of Buried Ice
Using GPS coordinates, assign each radar trace a geographic position. Interpolate between lines to create a 3D voxel grid or depth slice maps. Software like OpendTect or custom GIS tools can visualize the ice volume. Highlight areas with the thickest, most accessible ice—these are prime drilling targets for future Mars missions.
Step 9: Validate with Ground Truth (If Possible)
If the site on Earth has existing boreholes or seismic data, compare radar estimates of ice thickness and internal layers to verify accuracy. This step builds confidence that the drone-GPR method works. For Mars analog studies, repeat surveys over different terrains to test robustness.
Step 10: Scale Up for Mars Mission Planning
Translate the Earth-based workflow to a Mars scenario. Future spacecraft equipped with orbital radar (e.g., SHARAD) will identify regional ice. A Mars drone—like the proposed Dragonfly-style rotorcraft—could then fly low over promising sites with GPR to produce high-resolution local maps. These maps will guide a drill to extract water ice for fuel, life support, or scientific analysis.
Tips
- Environmental factors: On Mars, lower atmospheric density reduces drone lift; rotors must be larger or faster. Cold temperatures affect battery life and electronics—use insulated batteries or heating.
- Radar frequency choice: For Mars ice, frequencies around 100–200 MHz offer a good trade-off between penetration (tens of meters) and resolution (meters).
- Data processing shortcuts: Open-source tools like Ground Penetrating Radar Toolbox for MATLAB or GPRPy (Python) can streamline processing.
- Safety when surveying on Earth: Glaciers have crevasses; never fly alone without ground support. Use GPS trackers and emergency communication devices.
- Combine with other remote sensing: Overlay your drone radar maps with orbital imagery, thermal data, or digital elevation models to improve interpretation.
- Legal and ethical: Obtain necessary permits for drone flights in national parks or protected areas. Respect wildlife.
- Document everything: Record flight logs, radar settings, and processing parameters for reproducibility.
By following these steps, you can replicate the key process that scientists are testing today—using drone radar to map buried ice on Earth as a proxy for Mars. This technology brings us closer to answering one of the biggest questions in space exploration: where to find water on the Red Planet.
Related Articles
- Orbital AI Data Centers: Cowboy Space Secures $275M to Launch on Proprietary Rocket
- 10 Key Details About Samsung's Upcoming AI Smart Glasses That Will Beat Apple to Market
- 5 Breakthroughs: How Adobe and Researchers Are Giving Video AI Long-Term Memory with State-Space Models
- The Power of Thinking Time: How AI Models Improve with Test-Time Compute
- First Fossil Fuel Transition Summit Ends with National Roadmap Commitments, New Tools to Curb Subsidies
- Breakthrough Study Reveals Molecular 'Switch' That Turns Brown Fat into a Calorie-Burning Furnace
- Mastering Calm During High-Stress Workdays: Your Q&A Guide
- Everything You Need to Know About the Latest MacBook Pro Deal: M5 Chip, 24GB RAM, 1TB Storage at $1,699