Supercharge Your Python Development with Codex CLI: A Step-by-Step Guide
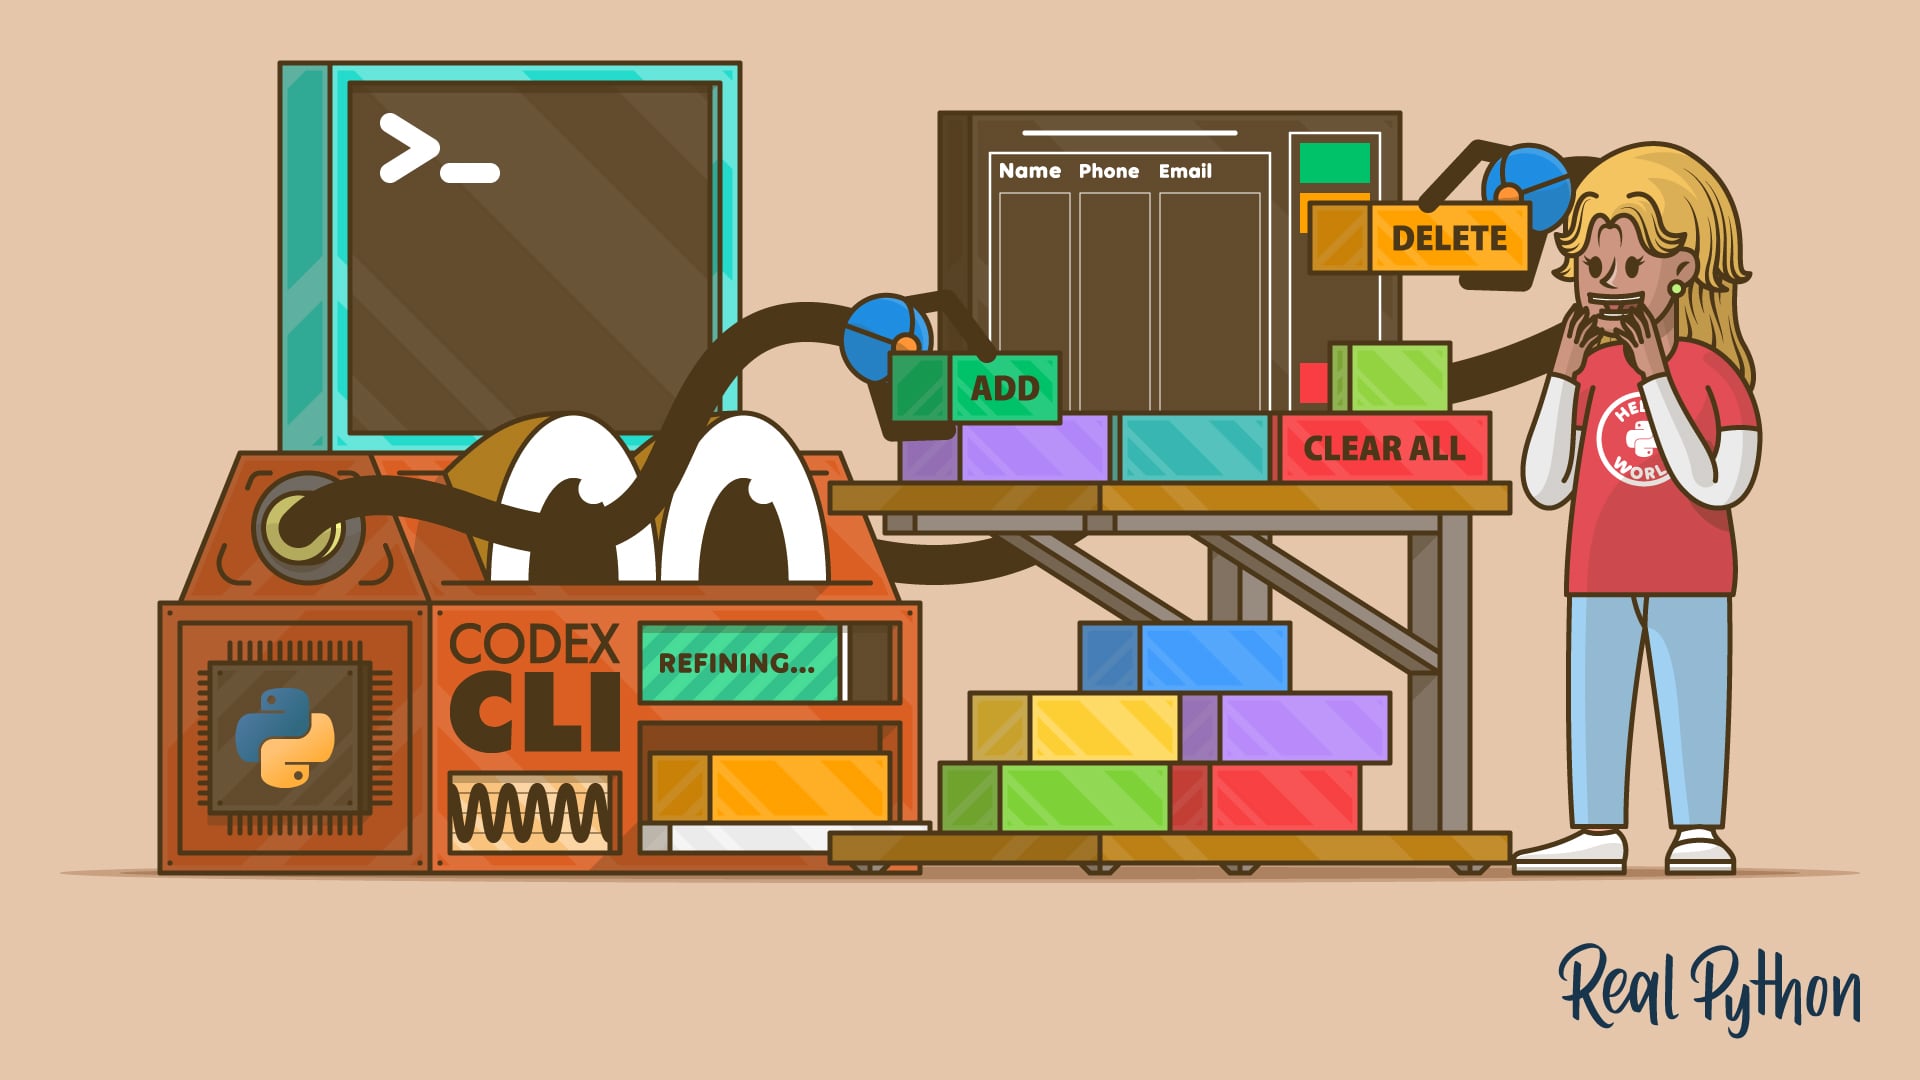
Welcome to this hands-on guide where you'll learn how to harness the power of Codex CLI to enhance your Python projects. Codex CLI is an AI-powered coding assistant that operates directly in your terminal. It understands your project's structure, reads your files, and proposes multi-file changes based on natural language instructions. Instead of copying code snippets from a browser or relying on an IDE plugin, you'll use Codex CLI to implement real features in a multi-file Python project. By the end of this guide, you'll have installed and configured Codex CLI, used it to add a deletion feature to a contact book app, and refined that feature through iterative prompting.
What You Need
- A computer with a terminal (Linux, macOS, or Windows with WSL)
- Python 3.6 or later installed
- A multi-file Python project (we'll use a contact book app for demonstration)
- Codex CLI installed (see Step 1)
- An API key for Codex CLI (if required – follow the official setup)
Step-by-Step Instructions
Step 1: Install Codex CLI
First, you need to install Codex CLI on your system. The exact method depends on your operating system and package manager. Typically, you can install it via npm with:
npm install -g @openai/codex-cliIf you prefer using pip (for Python-based installations), check the official documentation for the correct command. After installation, verify it works by typing codex --help in your terminal.
Step 2: Configure Codex CLI
Once installed, you need to configure Codex CLI with your API credentials. Run:
codex configureFollow the prompts to enter your API key (you can get one from the OpenAI platform if required). This step ensures Codex CLI can access the AI engine that powers its suggestions. If you're using a local model or a different backend, adjust the configuration accordingly.
Step 3: Prepare Your Python Project
Navigate to the root directory of your multi-file Python project – in this case, a contact book app. Make sure your project is organized with separate files for models, views, and logic. For example:
contact_book/
├── main.py
├── models.py
├── views.py
├── controllers.py
└── utils.py
Codex CLI works best when it can see the full context of your project, so ensure all relevant files are present in the current directory.
Step 4: Launch Codex CLI in Interactive Mode
Start an interactive session by running:
codexThis opens a prompt where you can type natural language requests. Codex CLI will analyze your project structure and existing files before proposing any changes. You'll see a brief message confirming that it's ready to assist.
Step 5: Describe the Feature You Want to Implement
Now, clearly describe the feature in natural language. For our contact book app, you might type:
Add a deletion feature that allows users to remove a contact by name. Update all necessary files to handle the delete operation, including a confirmation prompt before deletion.
Be as specific as possible – mention which files to modify if you have a preference. Codex CLI will read your existing code and understand dependencies.
Step 6: Review the Proposed Multi-File Changes
After you submit your request, Codex CLI will generate a set of changes across multiple files. It will display a diff-like output, showing additions and deletions. For example, it might modify controllers.py to add a delete function, update views.py to include a confirmation message, and adjust models.py to remove the contact from the database. Take your time to review each change carefully.

Step 7: Apply Changes Iteratively
If you're satisfied with the proposed changes, you can apply them directly by confirming. Codex CLI typically asks for approval before modifying files. You can also request refinements by typing additional instructions. For instance:
Instead of a confirmation prompt, just delete the contact immediately. Also, add error handling for missing contacts.
Codex CLI will update its suggestions based on your new input. Iterate as many times as needed until the feature behaves exactly as you want.
Step 8: Test the Implementation
After applying the final changes, exit the Codex CLI session and run your project manually:
python main.pyTest the deletion feature thoroughly. Check edge cases, such as deleting a non-existent contact or handling empty input. If you find bugs, you can restart the Codex CLI session and describe the issues for additional refinements.
Tips for Success
- Start small: When using Codex CLI for the first time, begin with a minor feature to understand how it interacts with your codebase. You can always expand later.
- Be descriptive: The more context you provide in your natural language prompts, the better Codex CLI can tailor its suggestions. Include file names, function signatures, and expected behavior.
- Iterate often: Rarely does the first proposal hit the mark. Use follow-up prompts to tweak logic, add error handling, or improve user experience.
- Review every change: Even though Codex CLI is powerful, always review the diffs before applying. You maintain full control over your code.
- Use version control: Before starting a session, commit your current code. This way you can always revert if the changes don't work out. Run
git initandgit add .thengit commit -m "before codex". - Experiment with different phrasings: If Codex CLI doesn't understand your request, rephrase it. Sometimes simplifying or breaking a request into smaller steps yields better results.
- Keep your project organized: A clean, modular project structure helps Codex CLI analyze dependencies accurately. Follow Python best practices like using separate modules for different concerns.
Related Articles
- New Analysis Reveals Gemini Gems Are Far More Powerful Than Users Realized
- Exploring Deeper: The rabbitholes Extension for Effortless Contextual Learning
- Before You Open Obsidian, Ask Yourself This One Question About Your Mind
- The Axiom of Choice: The Controversial Linchpin of Modern Mathematics
- Infiniti Enters Coupe-SUV Arena with Premium Fastback Undercutting BMW X6 by $23,000
- How to Build Evidence-Driven Enterprise Workflows: A Step-by-Step Guide
- Design Principles: From Guidelines to Team Alignment Tools
- Trump Administration Abruptly Removes All Members of the National Science Board